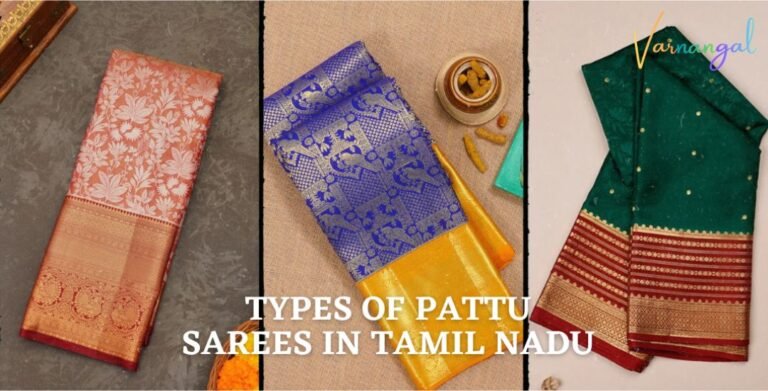
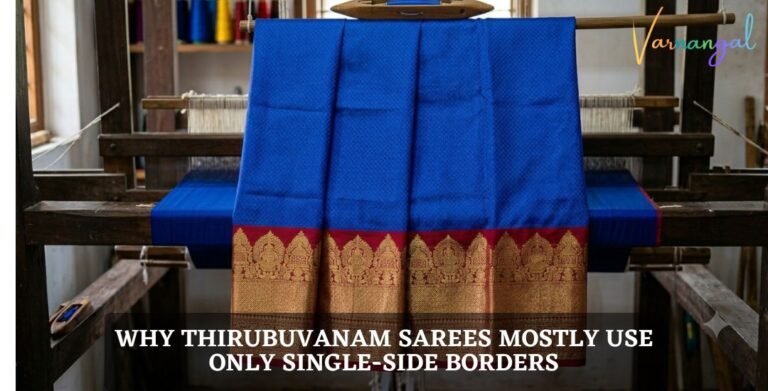
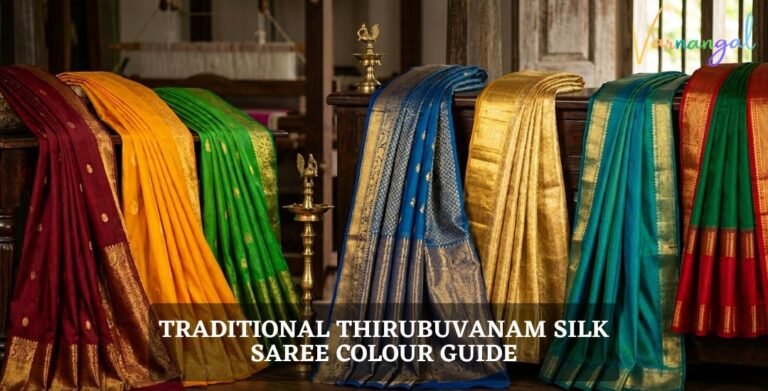
Silk sarees, like the famous Kanjivaram and Thirubuivanam varieties, are the most prized possessions in an Indian woman’s wardrobe. They are loved for their intricate artwork and the rich traditions they carry within their six or nine yards of fabric. However, because silk is a thick and heavy material, draping it can feel like a difficult challenge, especially if you do not wear sarees very often. In this blog, we have broken the process down into simple, easy-to-follow steps so that draping your silk saree for the next wedding will be a stress-free experience.
Get Ready Before You Start
To make the draping process fast and easy, you should have all your accessories ready before you begin. Having these items within reach will save you time and help you maintain your perfect pleats without any interruptions.
Safety Pins: Keep a set of 5–6 sturdy safety pins ready. Use larger, strong pins for the heavy waist pleats and smaller, delicate pins for the shoulder to keep them hidden.
Shapewear or Petticoat: Choose a petticoat or shapewear that matches the color of your silk saree perfectly. Using high-quality shapewear is a great tip because it helps the saree sit smoothly on your hips and creates a very clean silhouette.
Shoes: Always put on your heels or flats before you start the first tuck. This is the only way to get the height right so that the saree doesn’t trip you up or hang too high above your ankles.
Jewelry: Decide on your necklace, earrings, and waist belt (voddanam) early. Keeping them in one place ensures you don’t have to struggle with heavy jewelry after the saree is already pinned.
Pre-Pleating: If you are in a rush on the wedding morning, you can fold the shoulder pleats the night before and secure them with a pin. This makes the final draping much faster.
The 5 Easy Steps to Drape a Silk Saree for Wedding
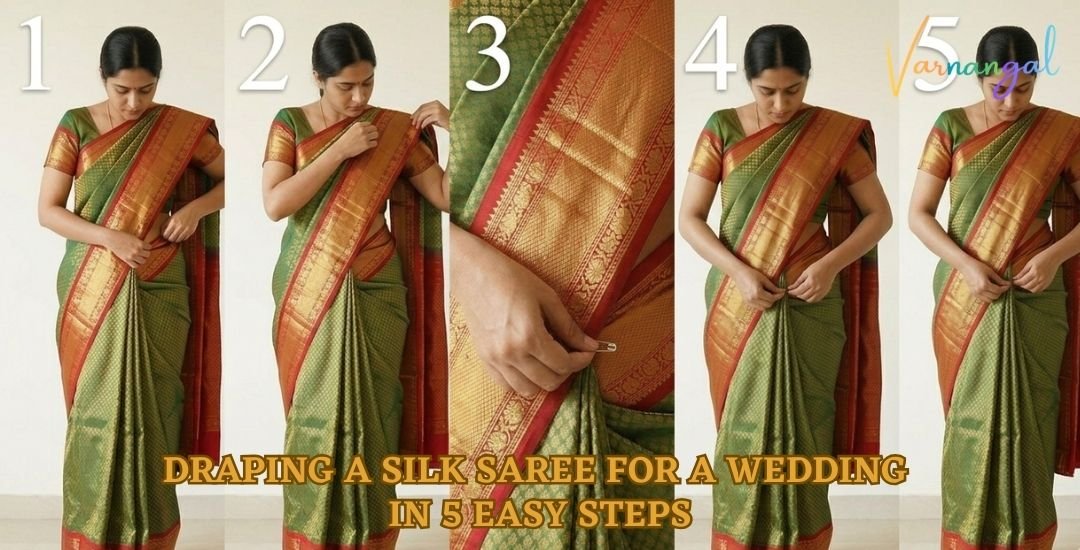
Follow these detailed steps to achieve a neat, professional look that will stay perfect throughout the wedding ceremony and reception.
1. The First Tuck
Start by wearing your blouse and your petticoat or shapewear. Take the plain end of the saree and tuck it into your waistband starting at the navel. Wrap it once around your waist until you reach the front again, making sure the fabric is tight and the bottom edge is just touching the floor.
2. The Shoulder (Pallu)
Take the other end of the saree (the pallu) and make neat, even folds. Bring it from behind your back and drop it over your left shoulder. Make sure the pallu is long enough to reach the back of your knee for a royal, elegant look. Secure it firmly to your blouse with a small pin.
3. The Hip Fit
Take the fabric that is hanging near your right hip and pull it tightly across your front toward the left side. Pin it slightly to your petticoat in a sloped direction. This is a very important step because it gives you a slim, clean shape at the waist and prevents the saree from looking bulky.
4. The Center Pleats
Now, take the loose fabric remaining in the middle. Using your thumb and fingers, make 4 or 5 wide folds. Gather them neatly so they are all the same length. Once you have a neat bunch, tuck them securely into the center of your waistband at the navel
5. The Final Touch
Use a large safety pin to hold all the center pleats together from the inside of your petticoat. This keeps the pleats from moving or falling out when you walk, dance, or sit down during the wedding events.
Quick Tips for Heavy Silk
Avoid the “Bulky” Look: When tucking the saree, try to spread the fabric flat against your stomach instead of bunching all the folds in one spot. This will help your waistline look flat and neat.
Safety First: Always use a small, discreet pin on your shoulder so it stays hidden under the border. For the waist pleats, use a larger, heavy-duty pin because silk fabric is heavy and needs extra support to stay in place.
Walking Space: A great trick is to tuck your center pleats slightly to the right side of your belly button. This gives your legs more room to move freely and comfortably while you are walking around the wedding hall.
Conclusion
Draping a silk saree for a wedding is an easy skill to learn once you know these simple steps and prepare your accessories in advance. By focusing on a neat waist tuck and using the right pins, you can achieve a professional, boutique-style look right at home. A well-draped saree not only makes you look beautiful but also allows you to enjoy the celebrations with complete confidence and grace.
Abirami R – I grew up watching the women in my family drape themselves in vibrant colors, which made me realize that a saree carries both grace and history. With my husband Rajarajan’s encouragement, I turned this fascination into a mission to help you find truly authentic Tamil Nadu weaves. I’ve spent years learning the technical side, like zari weight and thread strength, to protect you from misinformation and help you find pieces worth passing down. My goal is to teach you the soul of the heavy Thirubuvanam silk saree so you can identify a real masterpiece for yourself.
Enjoyed this? Share the love with your network!Share this content
I especially appreciated the tip about putting on shoes before starting the tuck — it’s such a small detail but makes such a big difference in achieving the right fit and avoiding trips later. The advice on using the right safety pins for different parts of the saree is also super helpful, especially for those of us who aren’t regular saree wearers. Thanks for breaking it down into such manageable steps!
I love how you’ve broken down the saree-draping process! I never realized how important it is to have all the accessories ready before starting. Definitely makes it easier to focus on the pleats without worrying about finding the right safety pins halfway through!








I especially appreciated the tip about putting on shoes before starting the tuck — it’s such a small detail but makes such a big difference in achieving the right fit and avoiding trips later. The advice on using the right safety pins for different parts of the saree is also super helpful, especially for those of us who aren’t regular saree wearers. Thanks for breaking it down into such manageable steps!
I love how you’ve broken down the saree-draping process! I never realized how important it is to have all the accessories ready before starting. Definitely makes it easier to focus on the pleats without worrying about finding the right safety pins halfway through!